|
Listen to this article
|
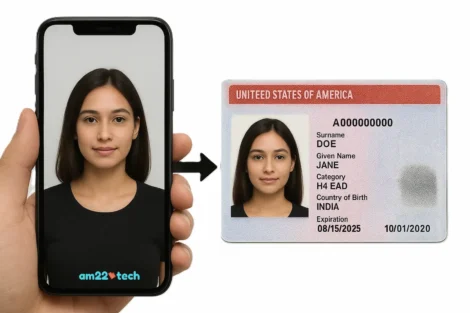
Applying for a US visa involves many steps, and one small mistake – a bad photo – can cause a big problem.
A rejected photo can lead to frustrating delays and even a canceled interview.
But don’t worry! You don’t need a professional studio to get it right. This guide will walk you through the essential requirements and show you how to take a great photo using just your smartphone and reliable online tools to ensure it’s accepted the first time.
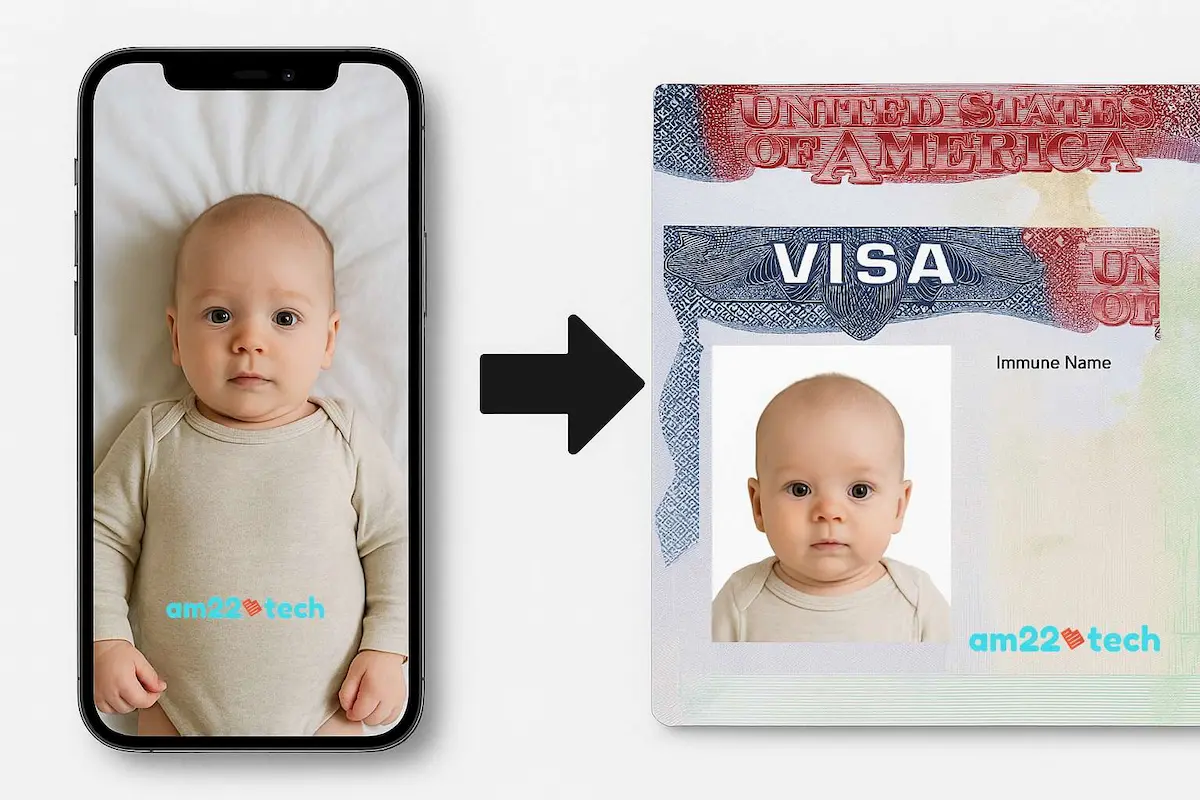
Capturing the Perfect Visa Photo of Your Infant
Taking a visa photo of a moving infant can be a challenge, but it’s completely achievable with a little patience and a few simple tricks.
It’s okay if the photo isn’t perfectly straight, as long as the key requirements are met.
The goal is a clear, uncropped photo showing your child’s full face, both ears, and full head, along with both shoulders, against a plain background.
What to Do
-
Lay the child on their back on a plain, light-colored bedsheet or blanket. This is the most popular and successful method, as it provides a consistent, clear background.
-
Ensure both of the child’s eyes are open. Try to take the photo when the infant is well-rested and alert.
-
Use different-colored clothing. The child’s outfit should be a different color from the background to ensure they stand out clearly.
-
Make sure it’s an individual photo. The picture must only contain the child, with no other humans, hands, or objects in the frame.
What to Avoid
-
No caps or hats. The child’s head must be fully visible without any coverings.
-
Do not hold the child in your lap. Your hands, arms, and legs must not be visible in the photo.
-
Do not stand while holding the child against your chest. The photo needs to be of the child alone.
-
Avoid shadows. Be mindful of your lighting to ensure no harsh shadows fall on the child’s face or the background.
DIY: Your Guide to a Good Starting Photo
You can get a professional-looking photo at home. Your smartphone’s camera is high-quality enough for this task. Here’s a simple process to follow:
Step 1: Get the Lighting Right
Stand in a well-lit area, preferably facing a window for soft, natural light. This helps prevent harsh shadows on your face or behind you.
Step 2: Use the Right Angle
Ask a friend to take the photo from about 4 feet away. This avoids the “fisheye” distortion you get from being too close. Make sure the camera is at eye level.
Step 3: Keep a Neutral Expression
Look straight ahead with a relaxed, neutral expression. Close your mouth, keep your eyes open, and don’t smile. Remove any hats or eyeglasses.
Your Two Options for Getting a Perfect Photo
Once you have a good picture, you need to make sure it meets all the specific digital rules. This is where most people get tripped up—getting the sizing, head position, and background just right can be tricky.
To help you, here’s a comparison of two ways to make sure your photo is 100% compliant, so you can choose the one that works best for you.

Manual Editing with the Official Tool
- The U.S. Department of State provides a basic Photo Tool on its website.
- It’s a simple cropper that helps you manually size your photo.
- While it can work, it relies on you to get the cropping and alignment just right, which can be difficult and prone to error.
- The catch? It won’t fix a bad background or tell you if your head size is slightly off. If you don’t use it perfectly, your photo could still be rejected.
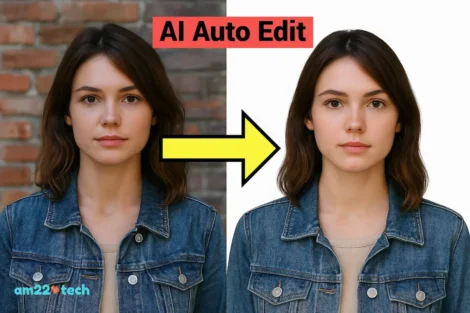
Automated Editing with AI
- AI Photo editors take the guesswork out of the process.
- **Automatically fixes the background** to be perfectly white.
- **Automatically sizes your head** to the exact specifications.
- **Provides a compliance check** so you know for sure your photo is ready.
An AI-powered tool, like AM22Tech’s AI Photo, takes the guesswork out of the process. You simply upload your photo, and the AI automatically corrects it.
It’s designed to ensure your photo meets every single requirement, eliminating the risk of human error.
Does the AI editing app change my facial blemishes / pimples?
Most AI visa editing software will take extreme care to not edit the facial blemishes or natural marks.
You should also NOT change any of those marks on your face, or even the pimples (Acne) that you may have.
The government regulations for ID photos for visa are very strict and they can deny your photo or the visa if you change them using AI.

AM22Tech’s AI visa photo editor never makes changes to any of your facial features to comply with government guidelines.
Keep in mind that this photo is for legal purpose and not for instagram of facebook likes. It is important that you show the face and your facial biometric is correctly recorded in the photo even after editing the background or cropping
Can I take a selfie and edit it for Visa Photo?
We suggested NOT using a selfie for visa photos. Usually, when you click a selfie, your shoulders and head position are not always straight.
There is a very high chance that the image will not be a perfect fit for the visa photo even after editing it with AI.